Bonsai Techniques
A light and easy introduction to the world of bonsai techniques — from wiring and pruning to grafting, fusion, air-layering, and plenty more. These are just the first steps; there’s a whole forest of methods waiting to be explored
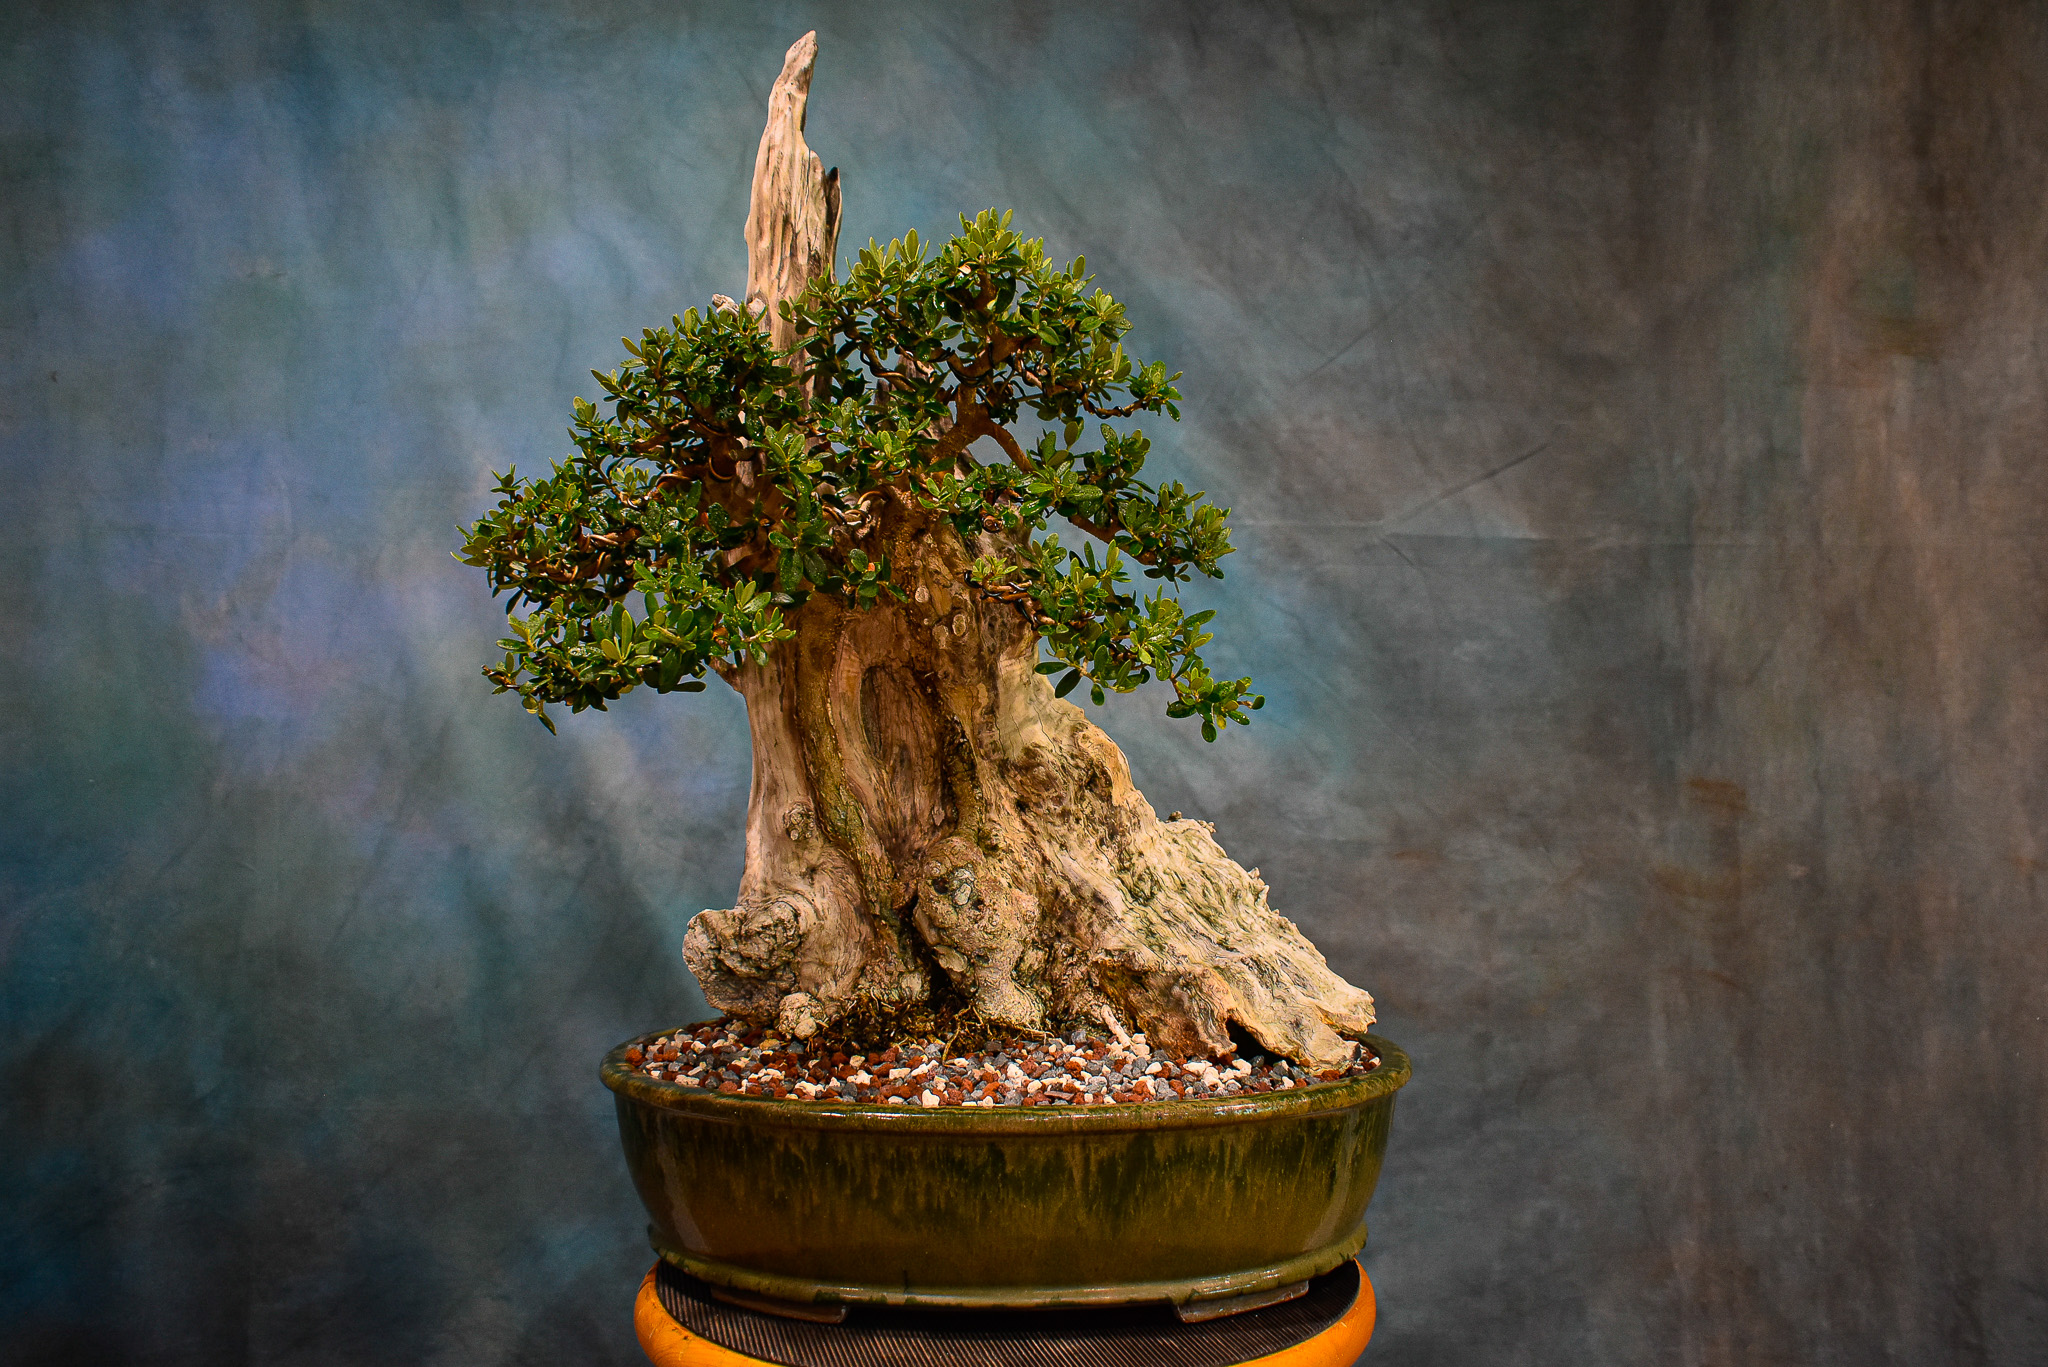
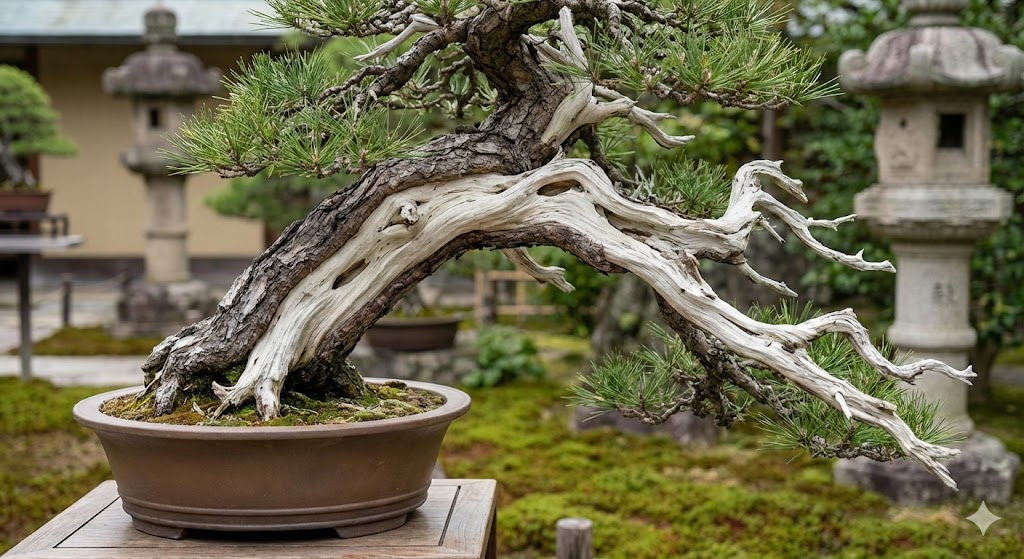
Shari
Expose deadwood on trunk/branches to add age and contrast without harming sapflow
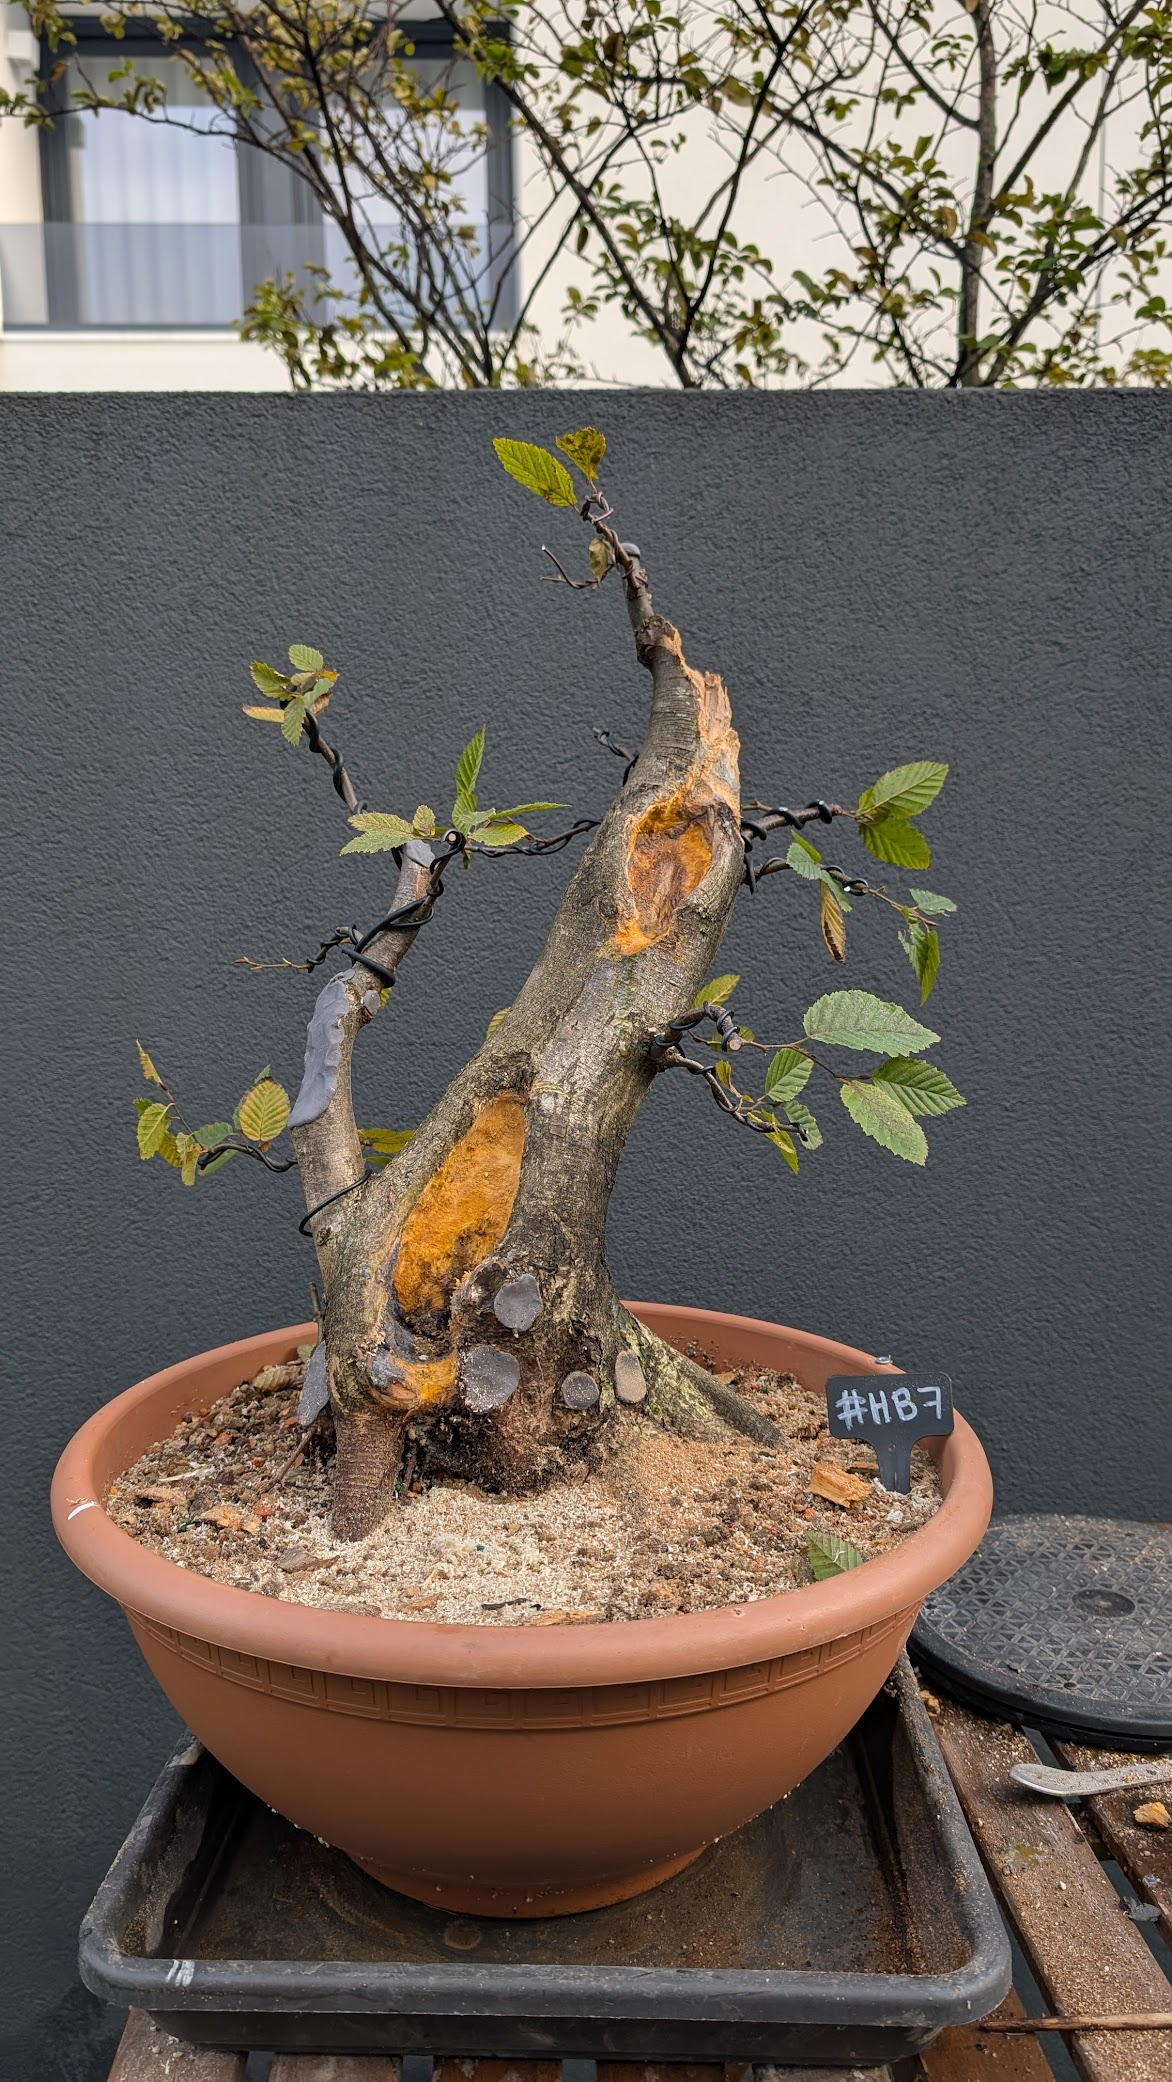
Uro
Carve former branch stubs to create natural-looking hollows and deadwood
Air Layer
Force a branch to root in place so it can be removed as a new tree
Ground Layer
Improve the nebari by layering at soil level
Ring Layer
Airlayer but with a metal ring (or wire) to constrict sap flow
Thread Graft
Create a branch or root
Approach Graft
Add a branch or root
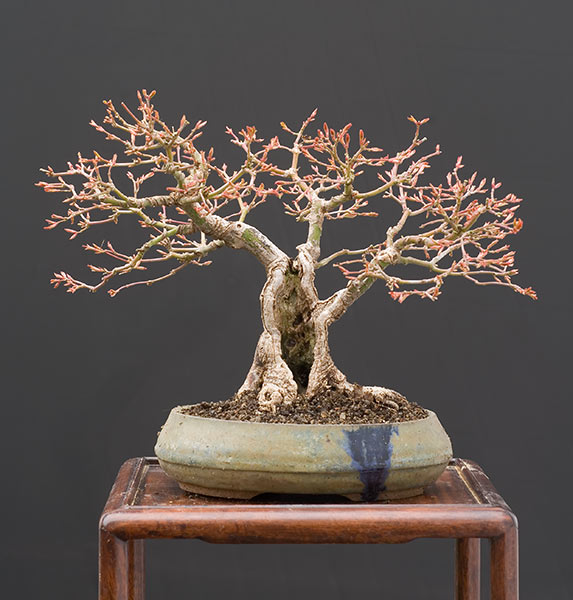
Trunk Fusion
Bind multiple young trees so they grow into a single, thicker trunk
Guy Wire
Use tensioned wires to adjust branch angles when wrapping is difficult
Ebihara Board Technique
Train roots flat across a board to build radial nebari
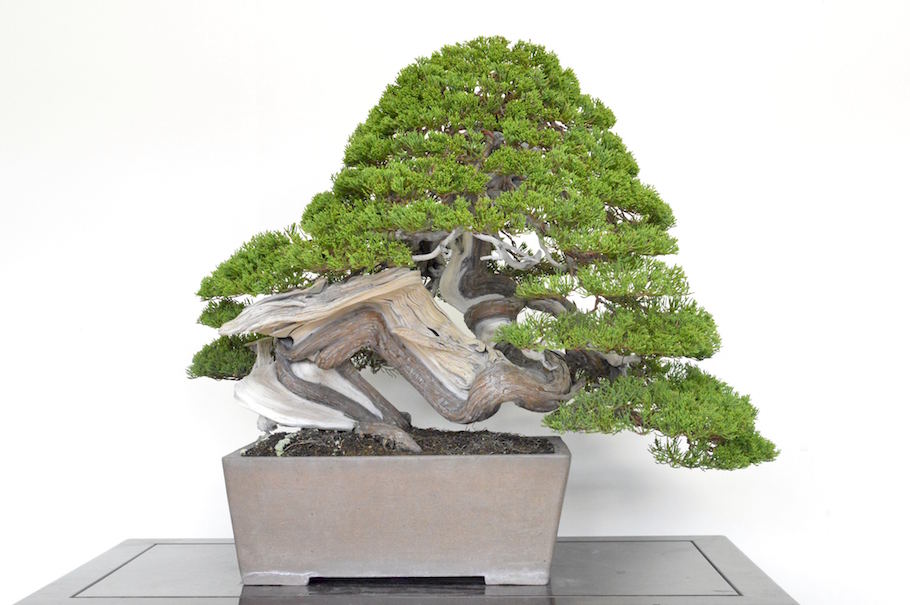
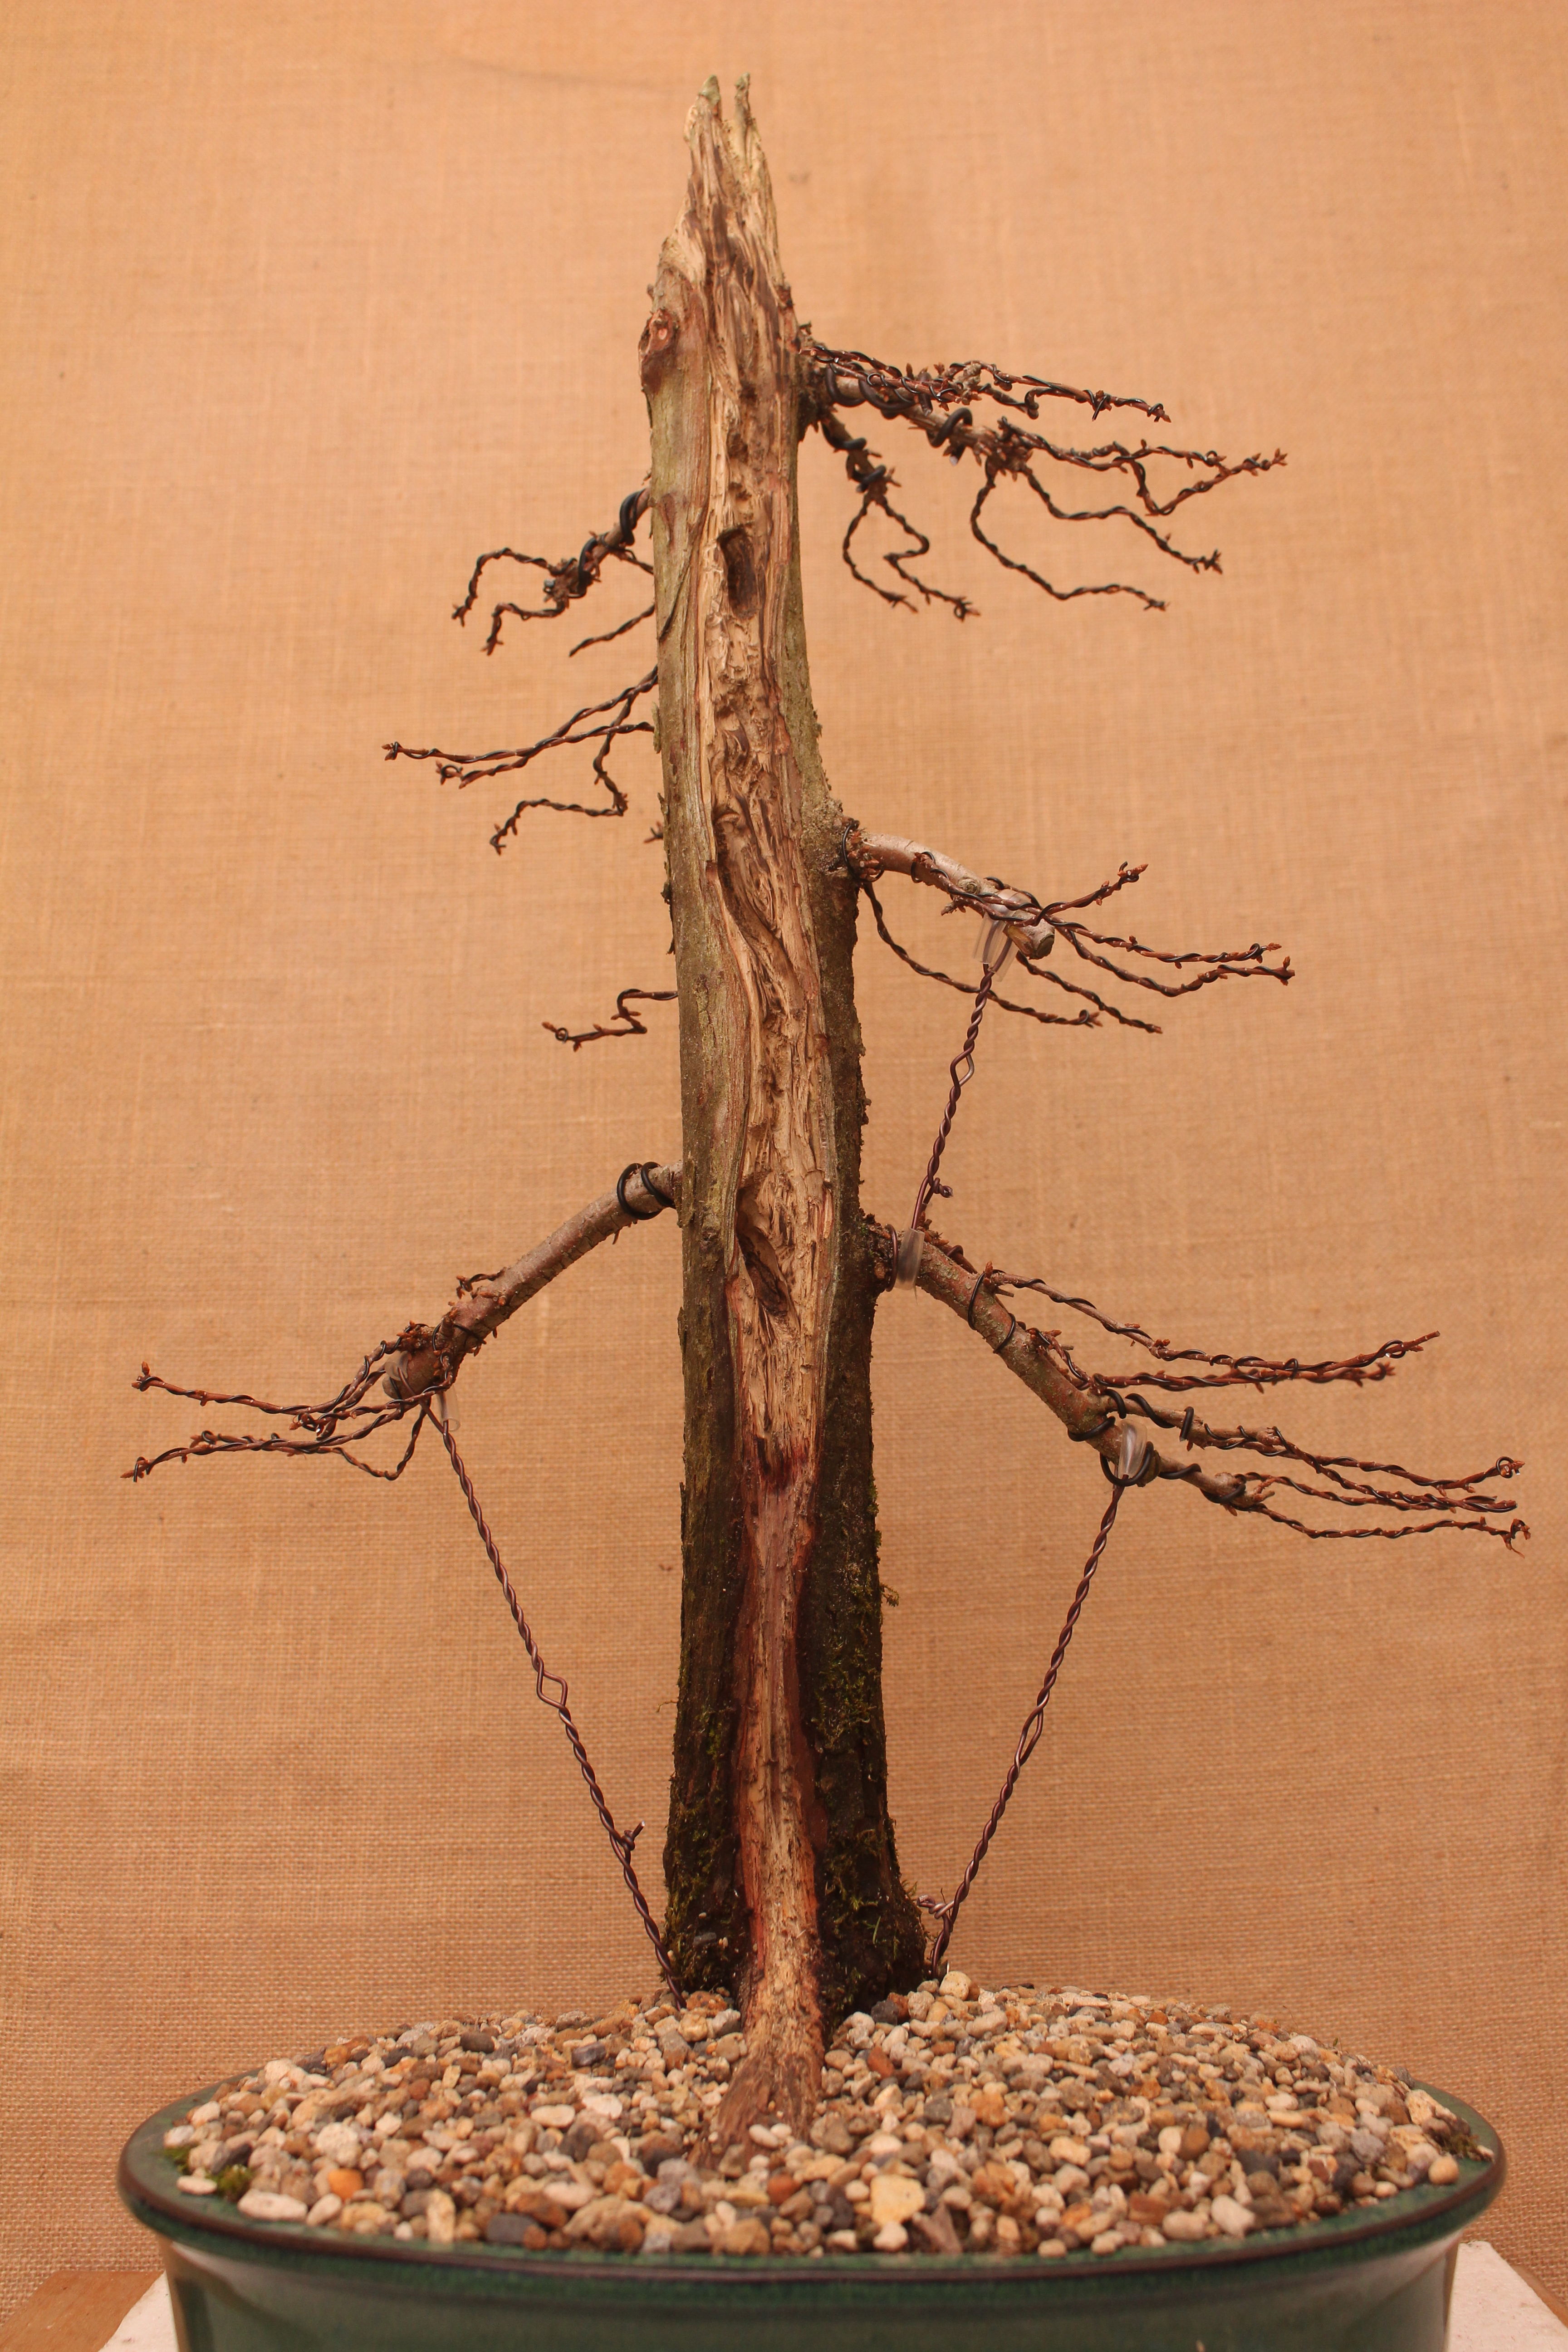
Shari
Expose deadwood on trunk/branches to add age and contrast without harming sapflow
Mark live veins and score the shari outline so cuts stay clear of sap flow. Peel bark in thin layers, let the surface dry, then carve grain with a knife or rotary burr while slightly undercutting the edges.
Brush clean, allow the deadwood to cure, and lime sulfur to seal while protecting the surrounding live bark for contrast.
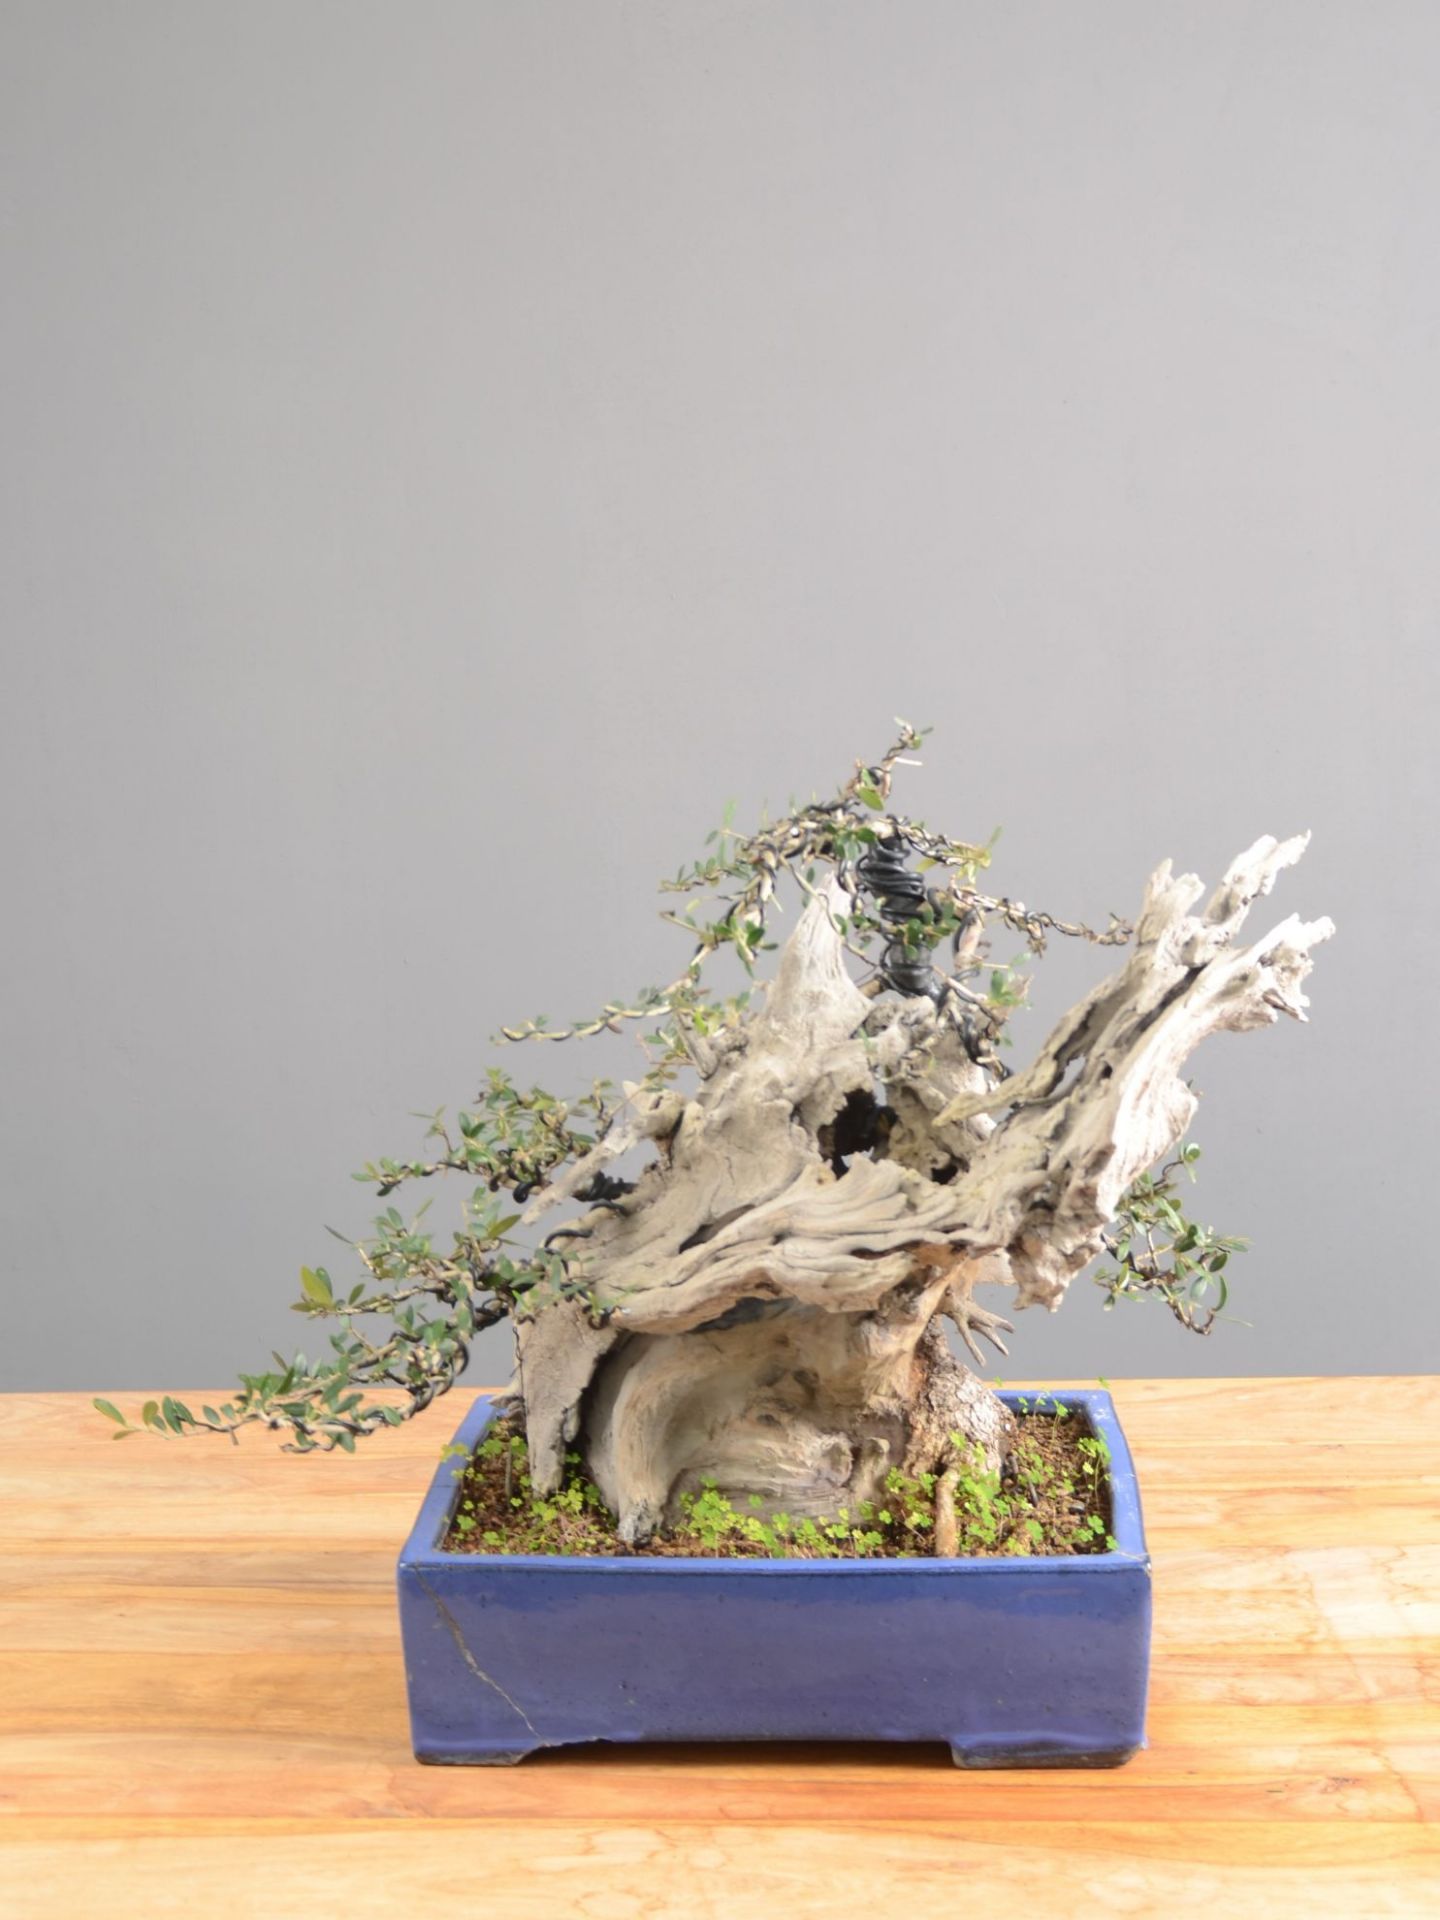
Uro
Carve former branch stubs to create natural-looking hollows and deadwood
Remove rot, drill or carve the center so the hollow tapers inward, and angle it for drainage. Texture the interior with a rotary wire brush and break up the rim so callus rolls irregularly instead of forming a donut.
Let the wood dry, apply lime sulfur, and revisit yearly to extend the rim and refresh protection.
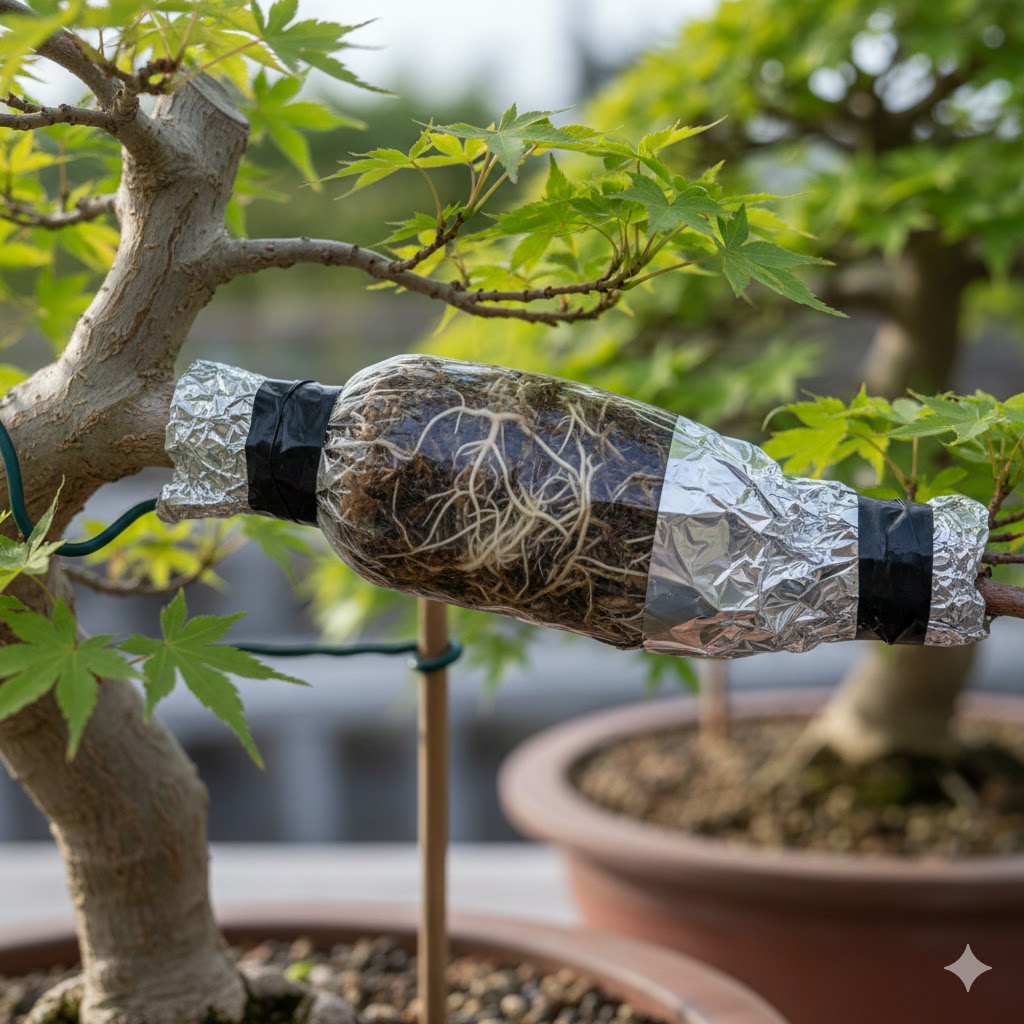
Air Layer
Force a branch to root in place so it can be removed as a new tree
Select a vigorous branch, remove a ring of bark to sapwood, and scrape the cambium so it cannot bridge. Dust with hormone (or gel), pack moist sphagnum (or substrate), seal with plastic and foil (or other medium), and support the branch to prevent tearing.
Monitor for white roots through the wrap, then cut below the root ball once it fills with fine roots and lightly reduce foliage after separation.
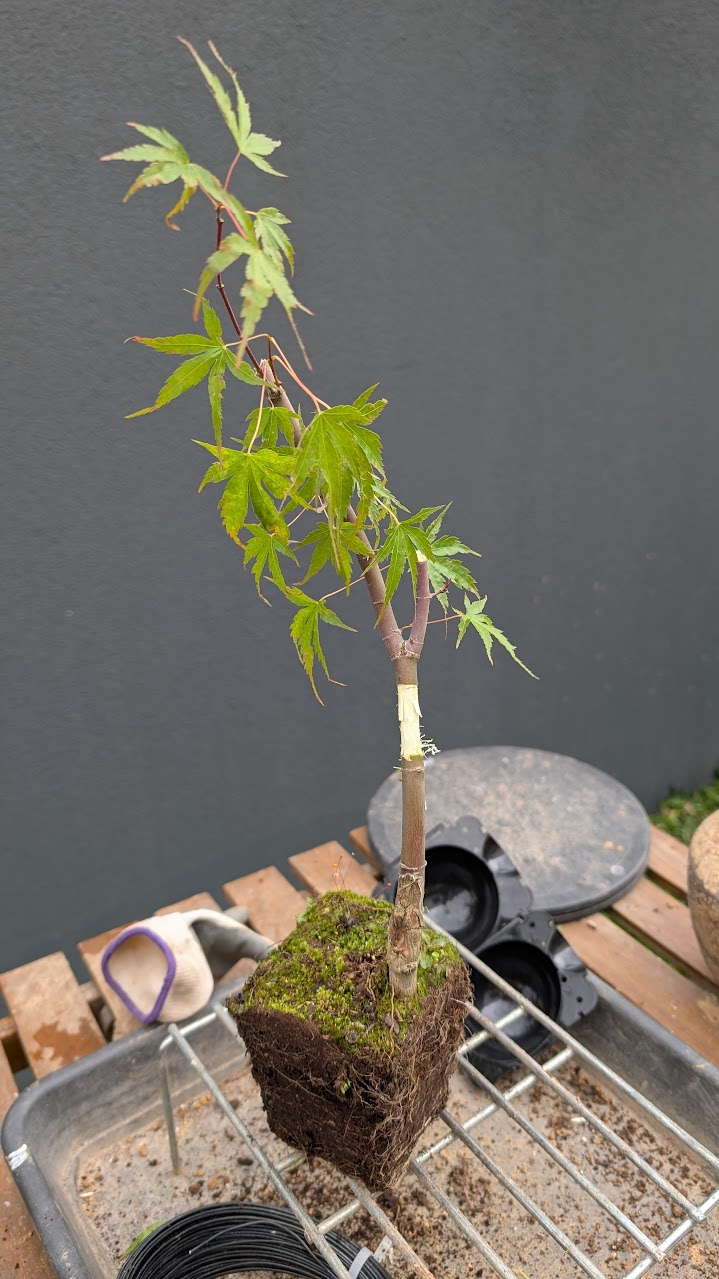
Ground Layer
Improve the nebari by layering at soil level
Same process as air layering but done at soil level.
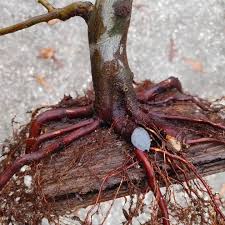
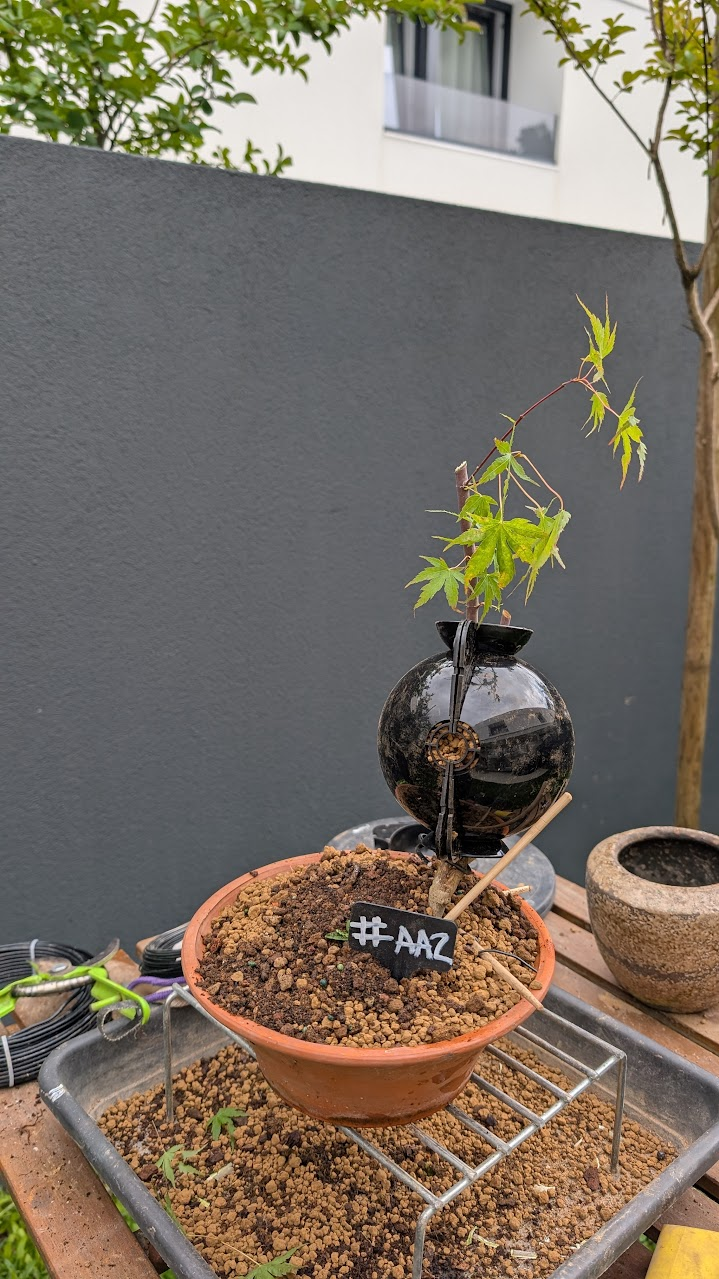
Ring Layer
Airlayer but with a metal ring (or wire) to constrict sap flow
Wrap a metal ring or tight wire around the branch where roots are desired to pinch sap flow without removing bark. Apply hormone above the constriction, pack moist sphagnum, and seal with plastic and foil to keep it dark and humid.
Monitor for fine roots and cut below the new root mass once it fills the wrap.
Thread Graft
Create a branch or root
Drill or cut a tight channel through the trunk, thread a vigorous shoot through it, and align cambium at the entry and exit. Secure the donor with tape or screws so it cannot shift, sealing gaps to prevent drying.
After swelling shows a solid union, slowly reduce the donor’s root connection before the final separation.
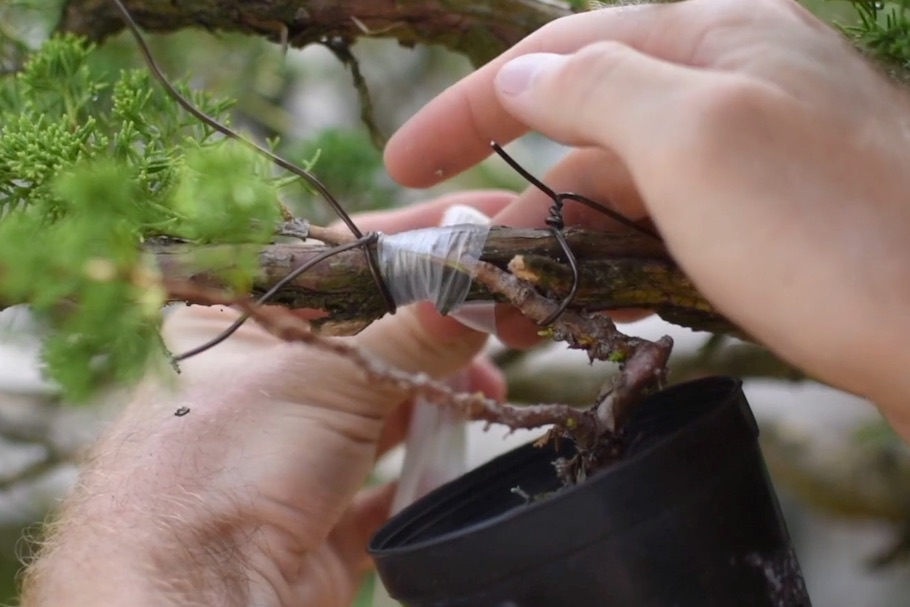
Approach Graft
Add a branch or root
Remove a flat strip of bark on the scion and carve a matching notch on the host where the branch is needed. Fix them together with screws or tape, sealing edges so cambium stays in contact while both plants keep their roots.
After swelling shows a solid union, slowly reduce the donor’s root connection before the final separation.
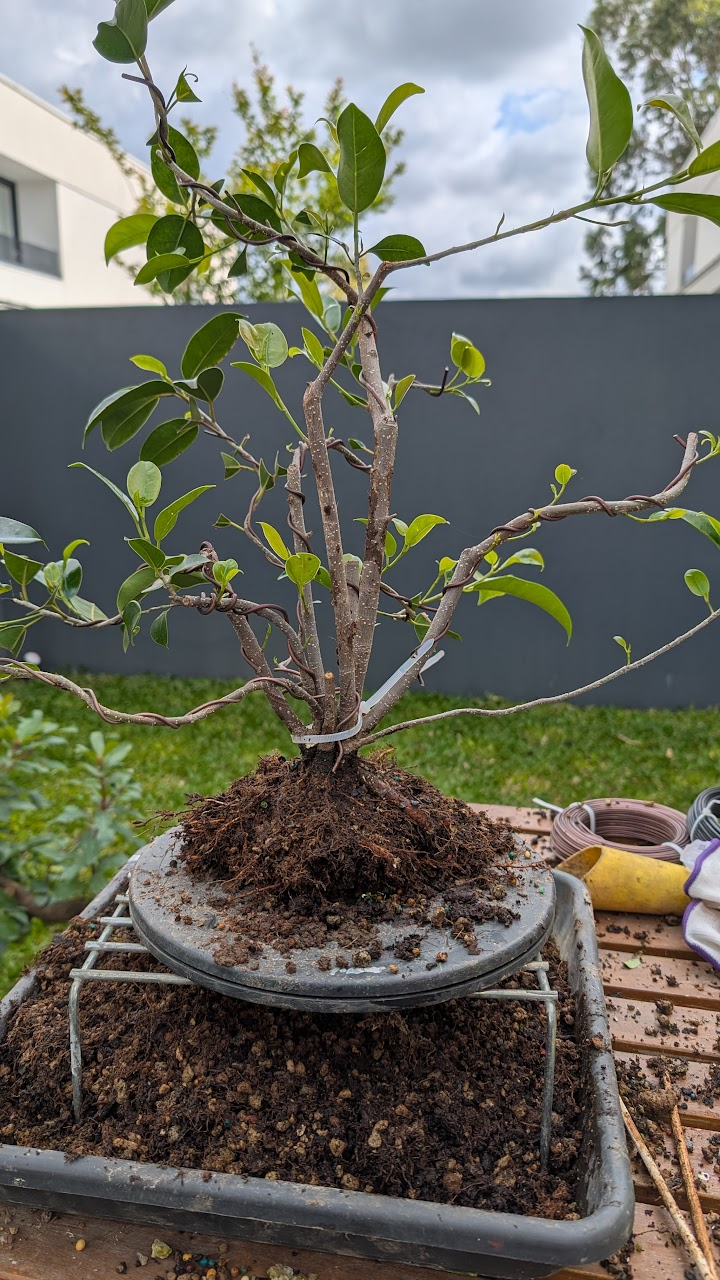
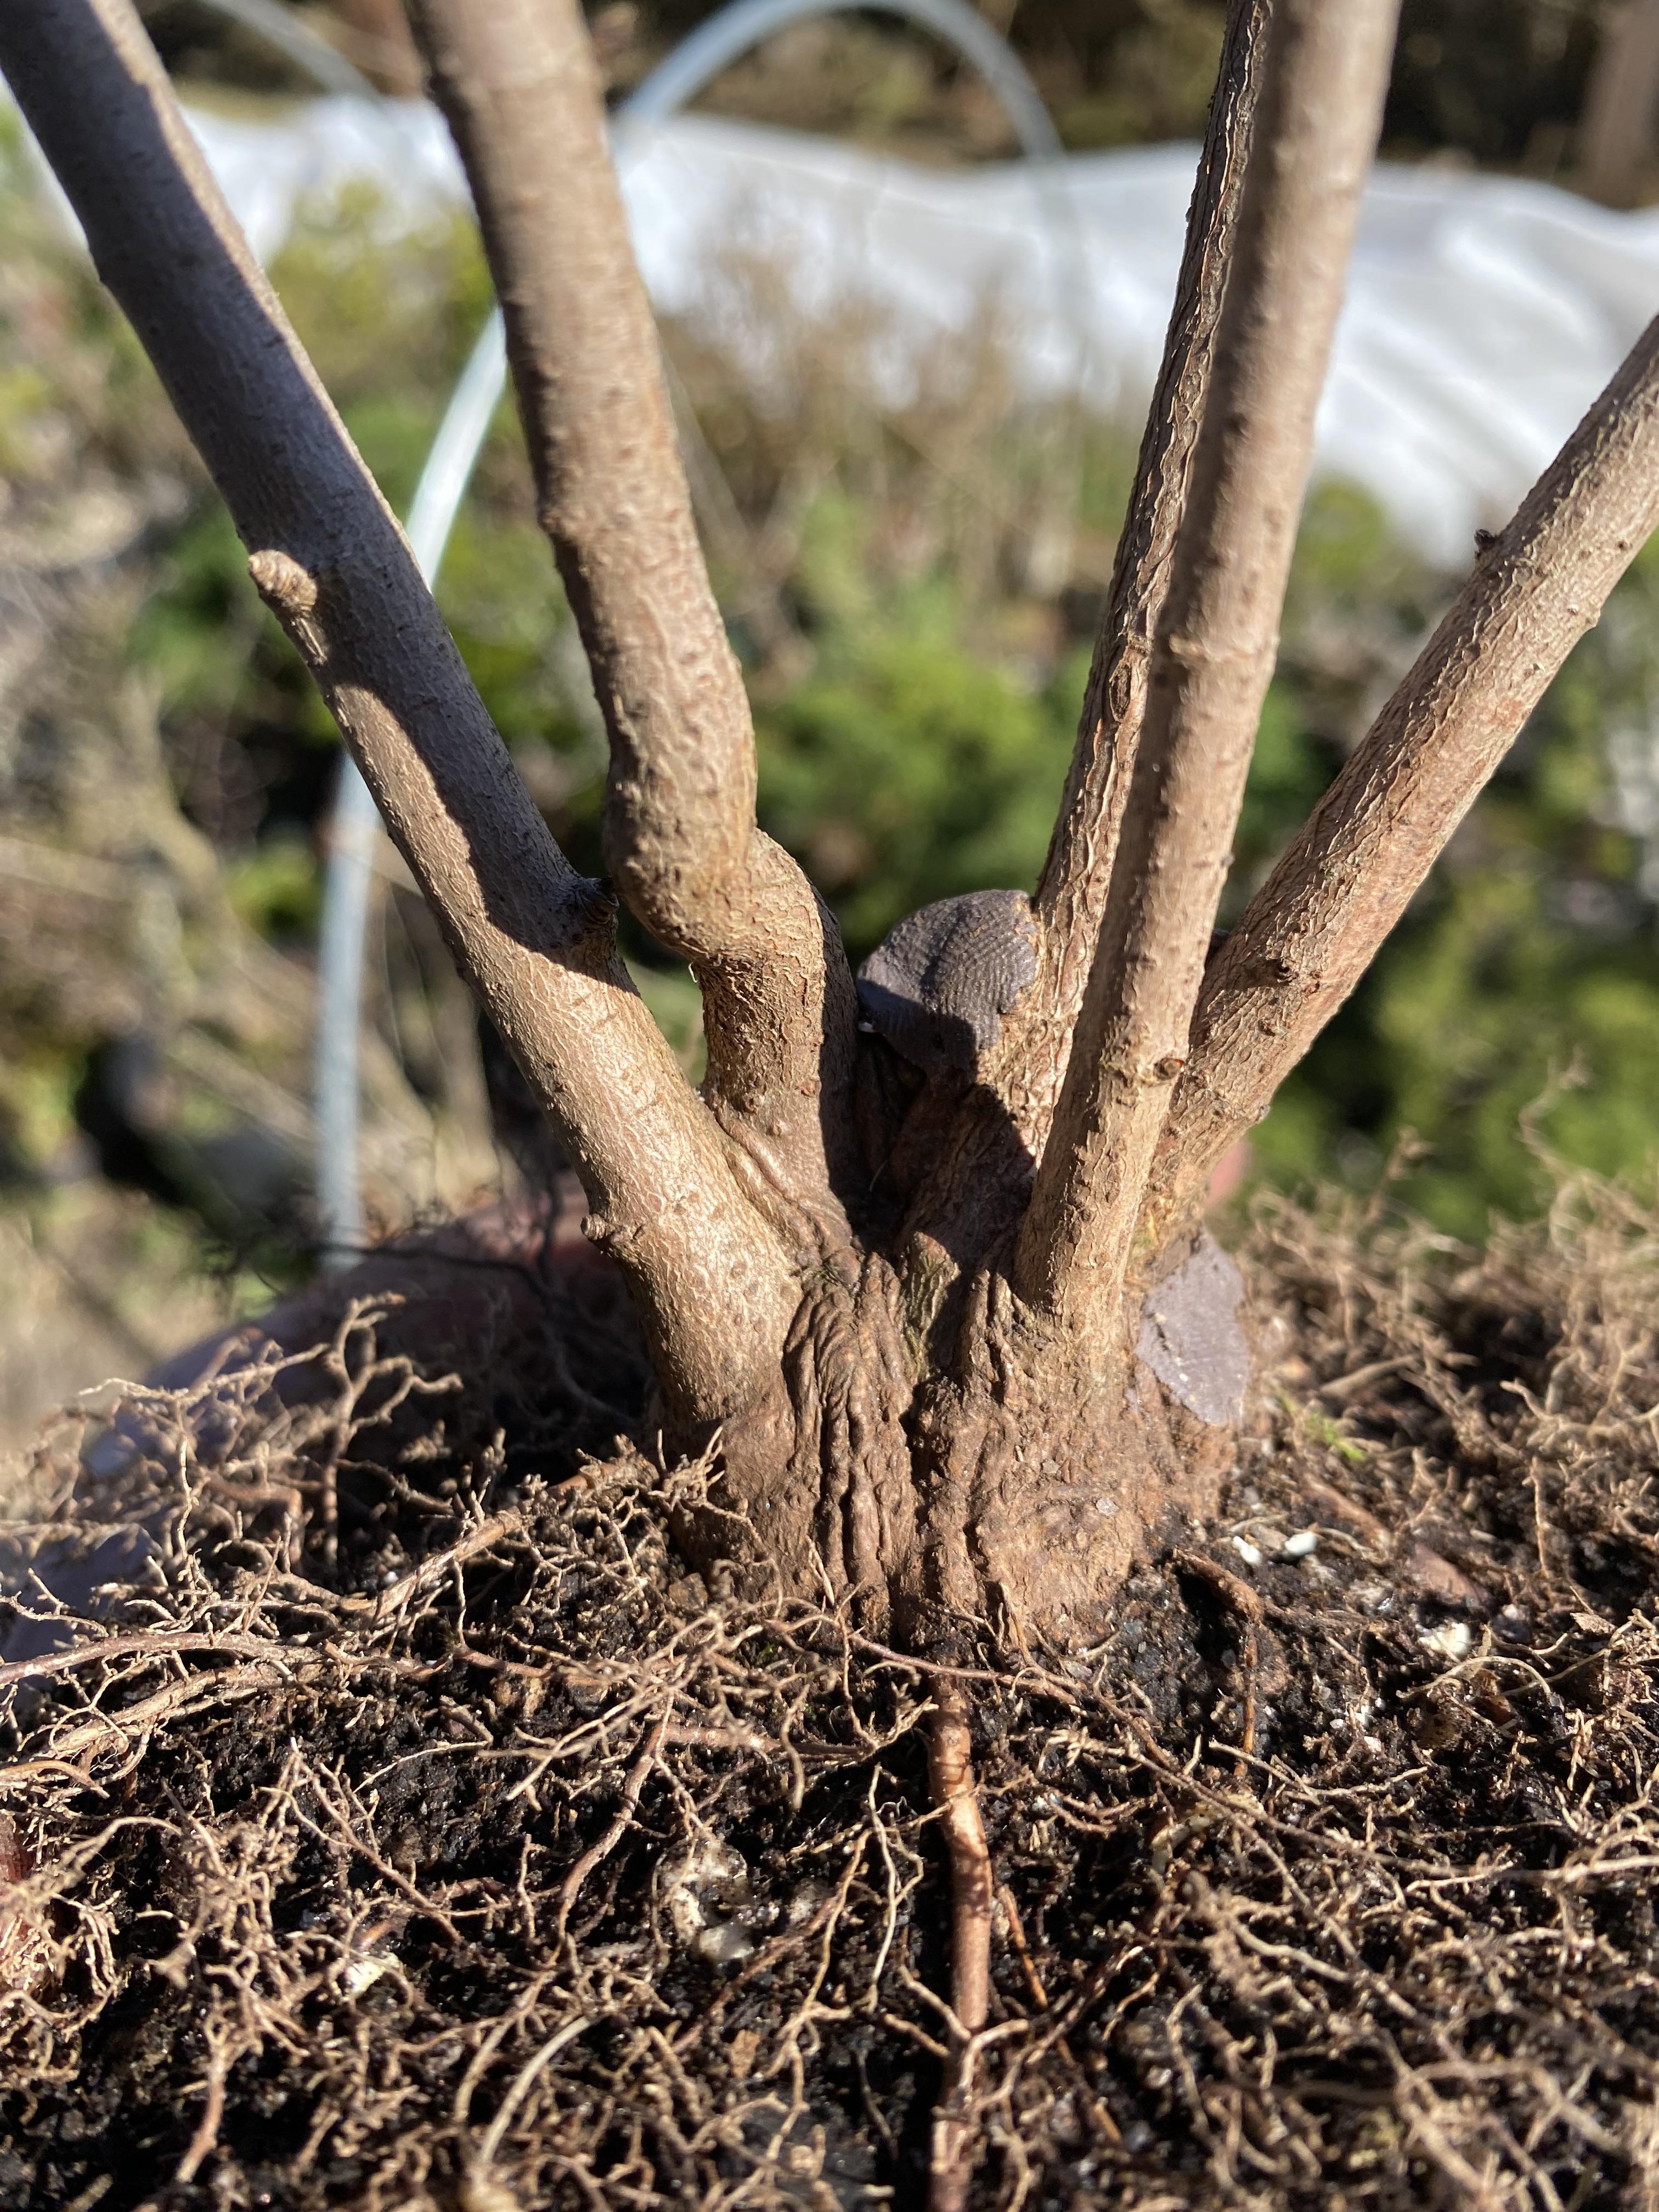
Trunk Fusion
Bind multiple young trees so they grow into a single, thicker trunk
Arrange young whips around a form or stake, scrape small contact patches where they touch, and bind them firmly so cambium stays pressed together. Use tape or soft wire loosened over time to avoid scars while staggering whip thicknesses for a natural trunk.
Rotate for even light, prune redundant shoots, and carve ridges as the bundle fuses into one.
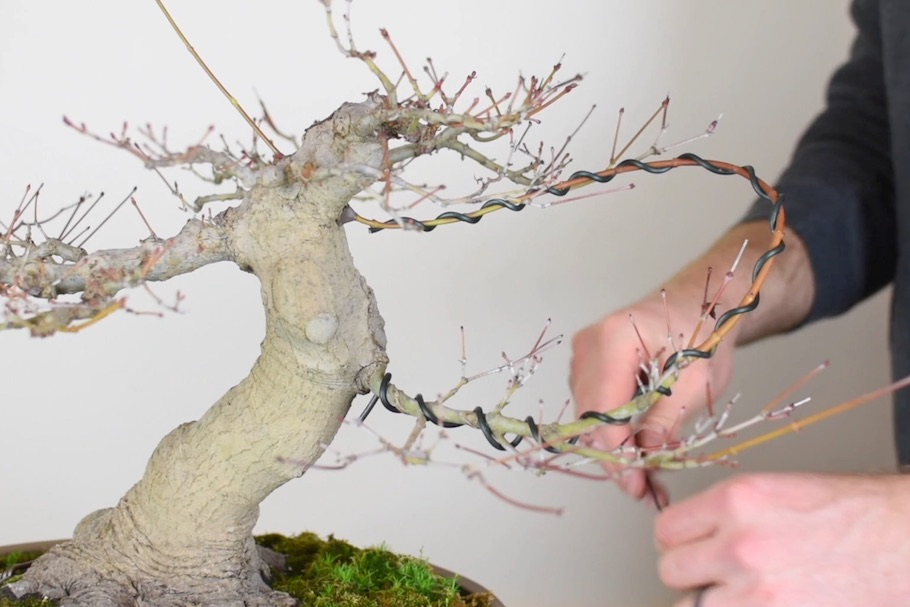
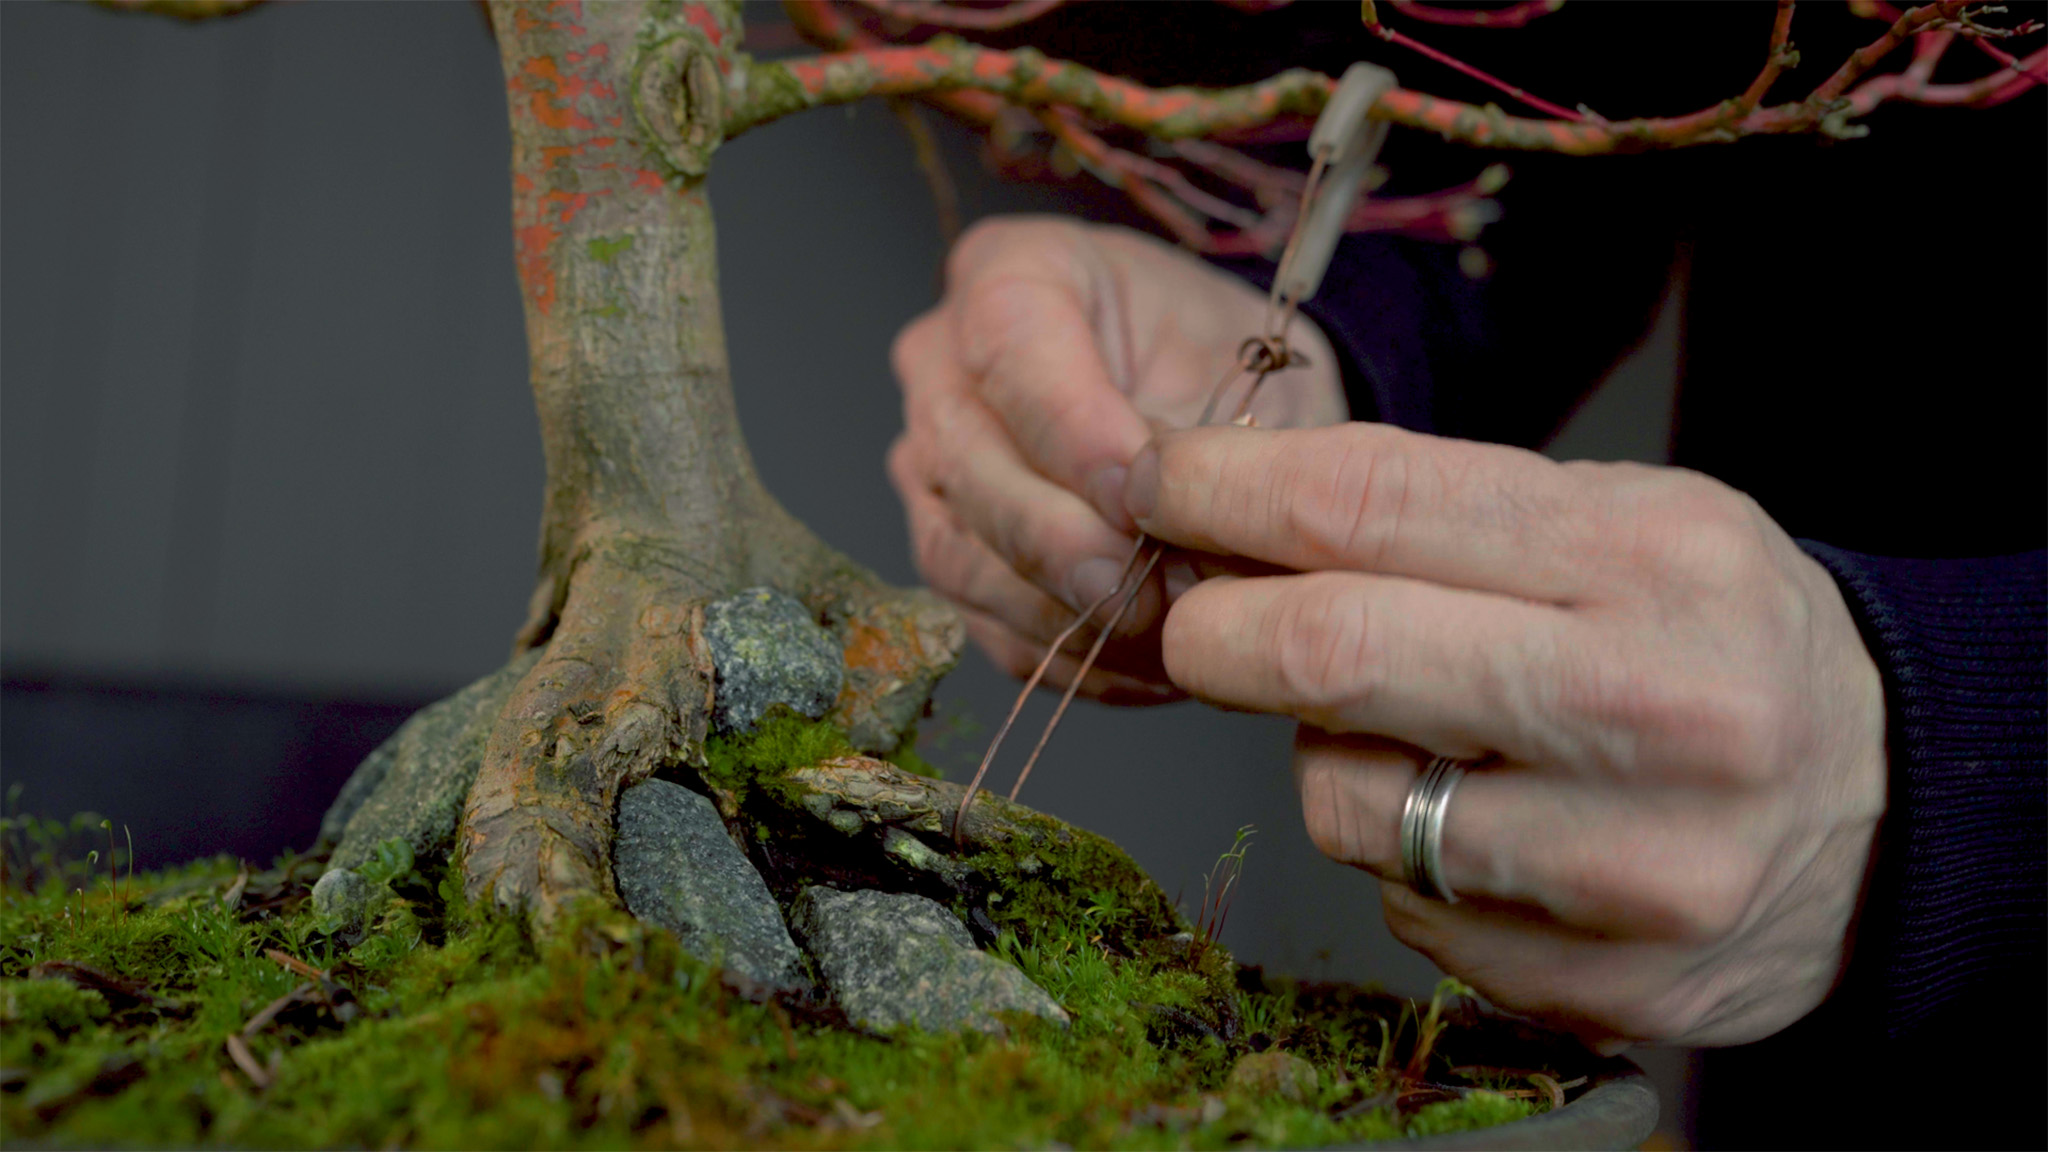
Guy Wire
Use tensioned wires to adjust branch angles when wrapping is difficult
Anchor a wire to the pot, trunk, or rebar, pad the contact on the branch, and set a low pull angle toward the desired direction. Twist the wire or use a turnbuckle to add tension gradually, checking often so it doesn’t bite or lift the root ball.
Once the wood sets, release or reposition the guy wire to avoid scarring while keeping the new angle.

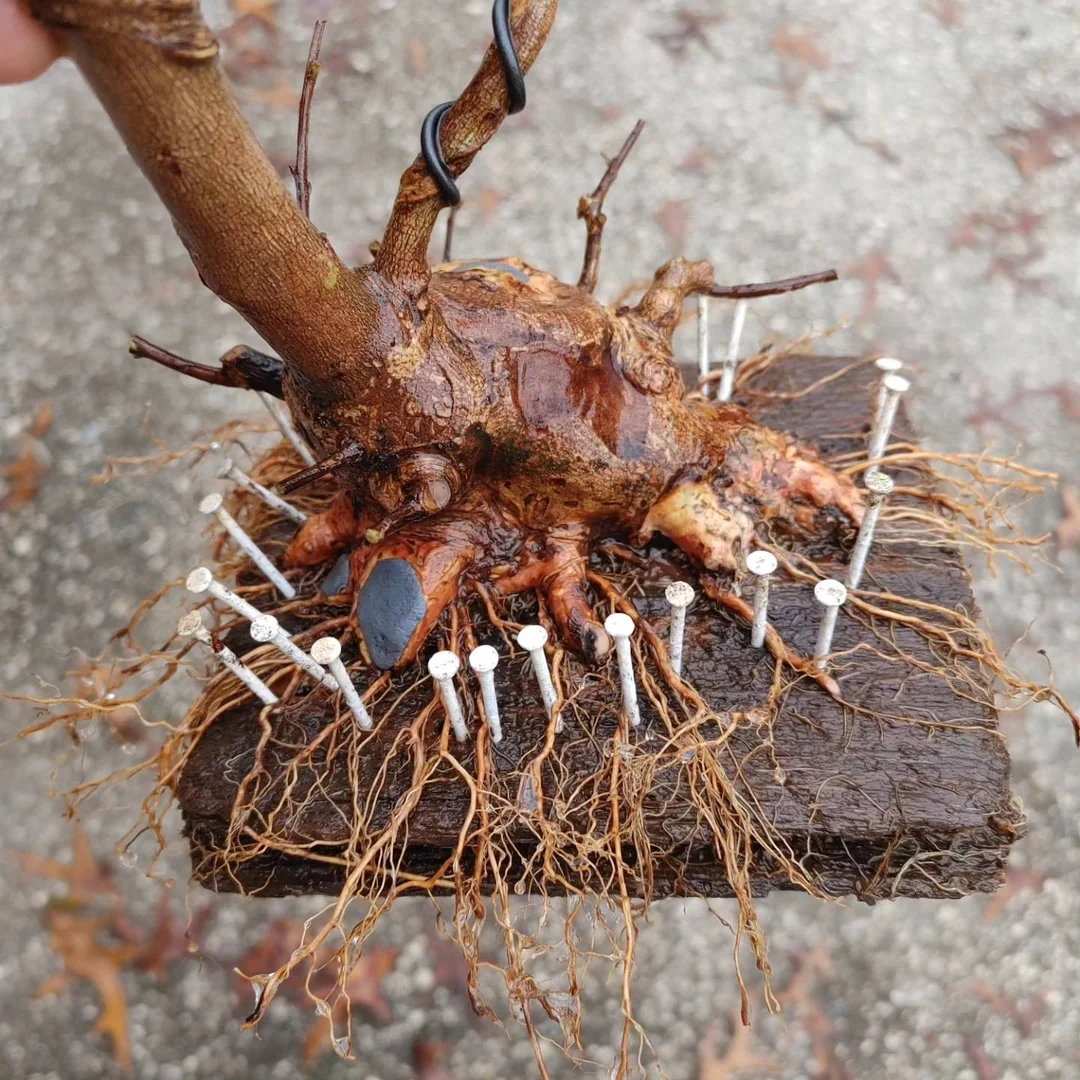
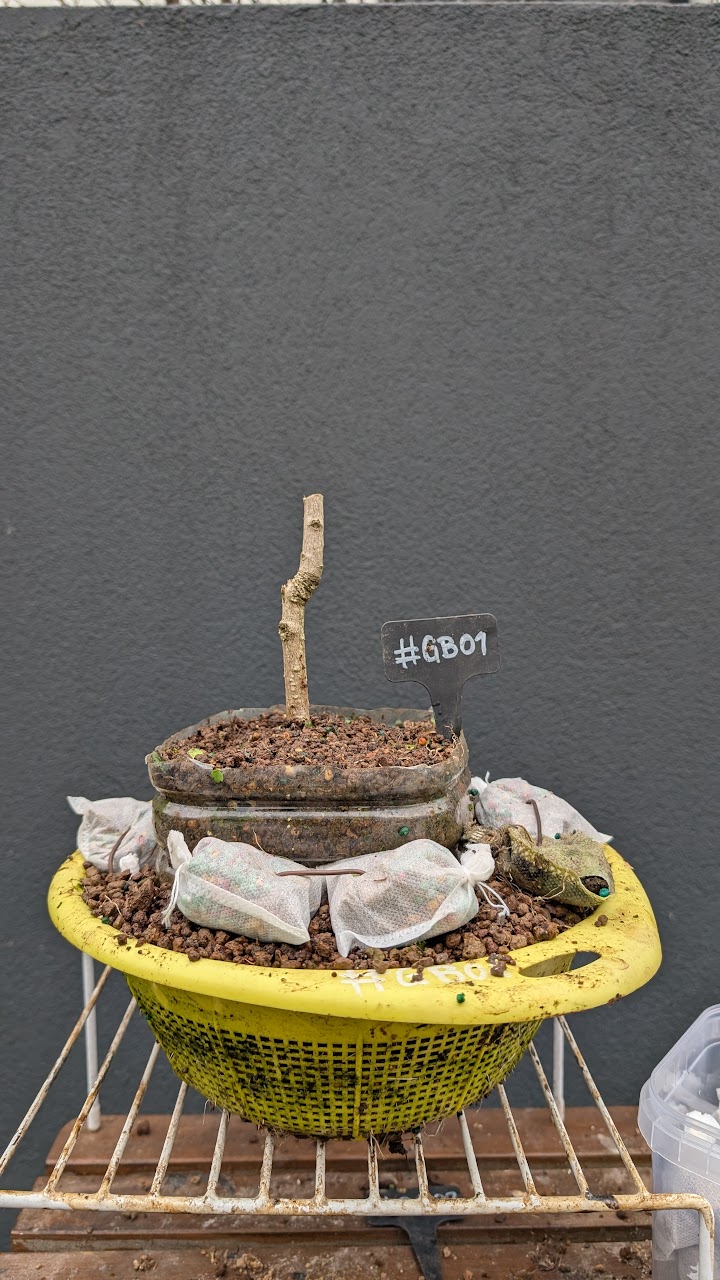
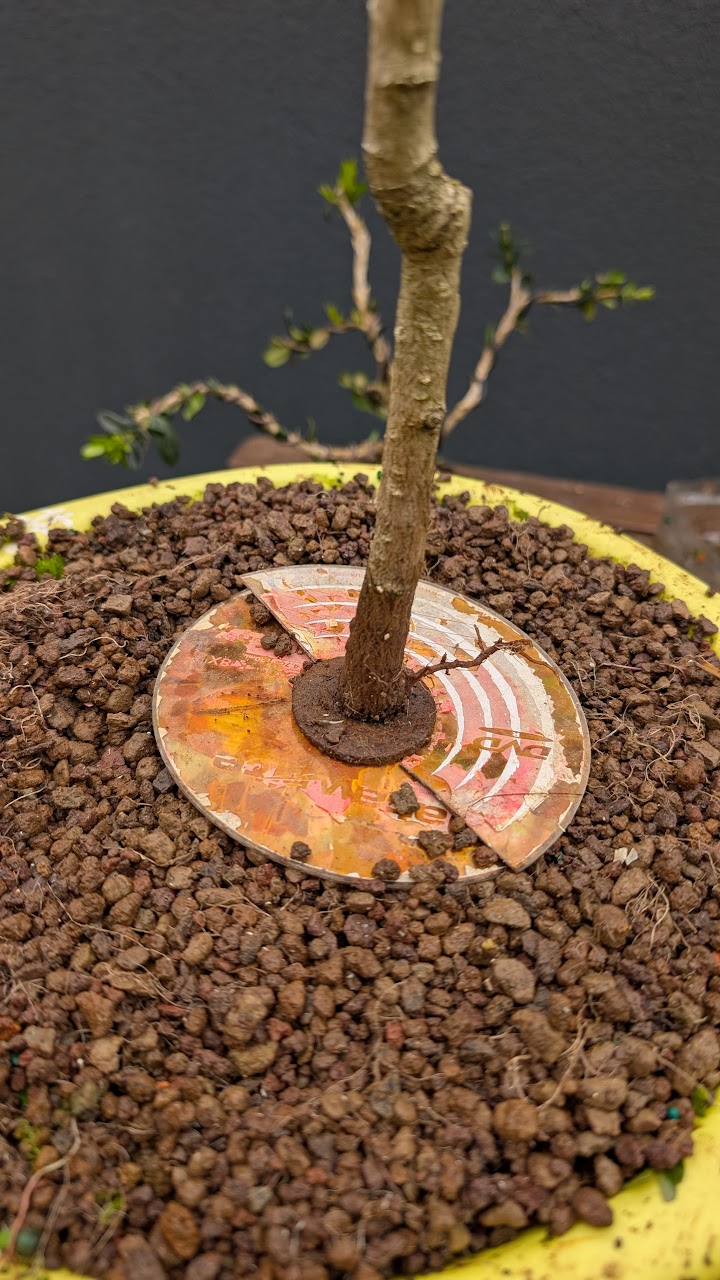
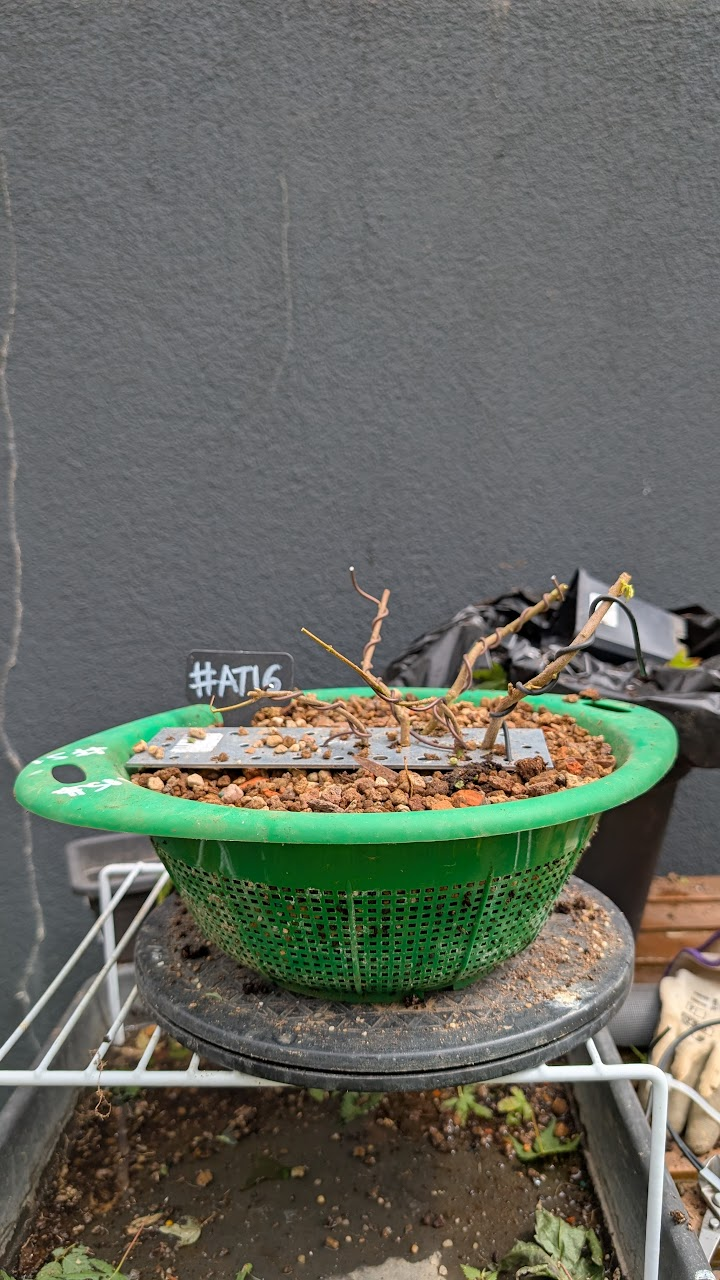
Ebihara Board Technique
Train roots flat across a board to build radial nebari
During early repotting, spread young roots across a perforated board and fix them lightly with staples or biodegradable ties. Dust cuts with hormone, cover with a shallow, airy mix, and secure a mesh so moisture stays near the surface while roots run flat.
Lift yearly to redirect coarse roots and widen the container as the radial plate expands.